Start by choosing your class and appearance, then follow the main mission while completing nearby green quests, Sealed Dungeons, and Strongholds. This AION 2 guide helps you address common progression problems: reaching dungeon gear-score requirements, improving low combat power, and keeping your damage rotation running without exhausting MP. At level 45, develop your boards and Stigmas alongside equipment upgrades. Choose the section that matches your next task rather than trying to finish every system at once.
Choose Your Main and Create Your Character
Use AION 2 classes to compare damage, tanking, healing, and hybrid support. The AION 2 class tier list separates PvE, PvP, and overall usefulness: Gladiator and Ranger lead both mode lists, while Cleric's overall value reflects party healing. A ranking for damage alone does not settle which role your group needs.
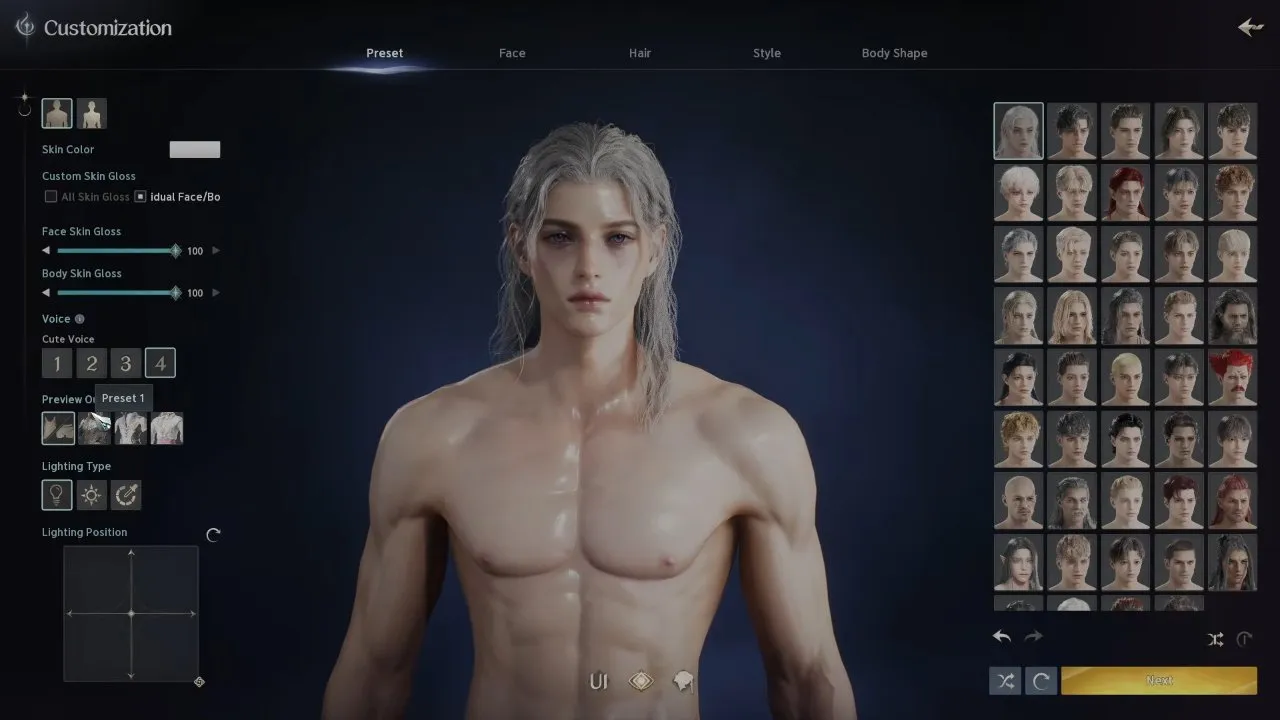
Once you have chosen a role, use AION 2 character creation to start from a preset, refine facial proportions, and finish hair, markings, and body adjustments. Shared appearances are downloaded through the Style Shop and loaded through Manage Appearance and Download Storage. Review the current application screen's ticket or currency requirement before paying for an appearance change.
Make Your Combat Rotation Work
Pick your class's setup, then check the required skill levels and selected specializations. Reaching a skill level does not automatically select the effect that makes its rotation work.
| Your combat task | Build to use | First practical priority |
|---|---|---|
| Sustain melee PvE damage | AION 2 Gladiator build | Rage Burst enables Overhead Slam; Keen Strike supports mana recovery. |
| Tank for a party | AION 2 Templar build | Develop Pummel and Judgment, maintain enmity, and face the boss away from allies. |
| Combine damage with healing and buffs | AION 2 Chanter build | Prioritize Dark Crush, Onslaught, and Recuperation; choose the fourth Stigma for your party role. |
| Build the Cleric damage core | AION 2 Cleric build | Use Chain of Torment, Earth Punishment, then Condemnation with the required specialties. |
| Set up boss burst or PvP control | AION 2 Assassin build | Keep separate loadouts; prepare five Insignias and respect attack conditions. |
| Sustain ranged attacks at level 45 | AION 2 Ranger build | Start with Snipe and Tempest Shot's MP options before shifting toward more damage. |
| Manage summon damage and recovery | AION 2 Spiritmaster build | Prioritize Combustion, Elemental Fusion, and Fire Spirit; use Cold Shock between rotations. |
| Deliver charged spell bursts | AION 2 Sorcerer build | Buff before fully charging Hellfire and work toward its level-16 cooldown option. |
For Sorcerer, keep Wall of Fire, Late Explosion, and Elemental Amplification as the damage core. The flexible storm slot can become Steel Barrier when survival is stopping your casts, or Divine Surge when your party needs stagger help. The demonstrated board is unfinished, so it does not establish a perfected node-by-node layout.
For group support, coordinate Chanter and Cleric buffs: Undefeated Mantra does not stack with Light of Protection, and Power of the Storm's effect does not apply while Earth's Blessing is active. For Spiritmaster, each new elemental summon replaces the previous one; finish on Fire for sustained damage or change to the spirit that supplies the recovery or aggro support you need.
Explore, Collect, and Plan a Rift Visit
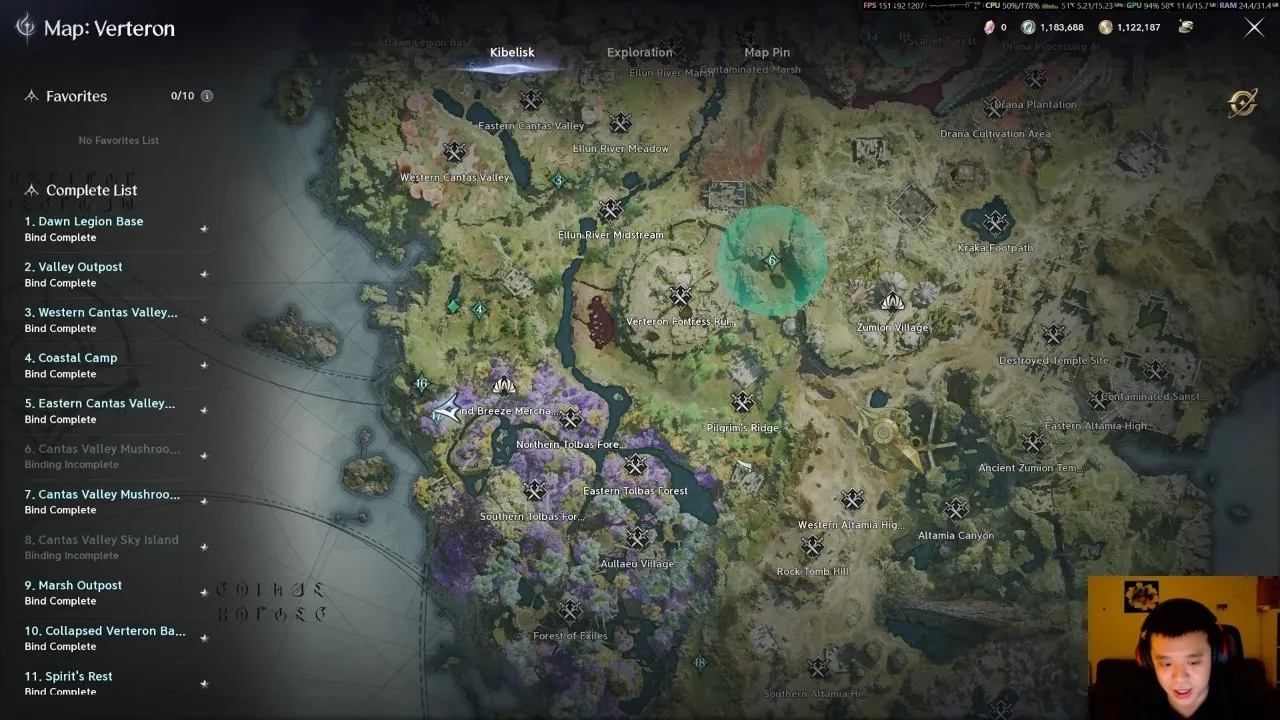
Use the AION 2 interactive map guide to match your region and filter for the objective you want. In game, press M and open Exploration to check completion. Hover over a feather on the minimap to read its distance, then change position or elevation to narrow the search.
The AION 2 hidden cube guide describes possible locations in Altgard and Verteron, including elevated ledges and underwater spots. Listen for the shimmering sound and check the correct terrain layer. Most cubes consume Hidden Keys, while some gold cubes are key-free; an empty candidate location does not establish that you searched the wrong region.
Check the AION 2 rift timer before visiting the opposing faction's world. The recorded schedule opens every three hours in UTC, with a ten-minute entry window and a one-hour visit after crossing. Entry requires level 45. Follow the current vortex icon and check remaining uses; the entrance location changes, and the visit duration is separate from the deadline to enter.
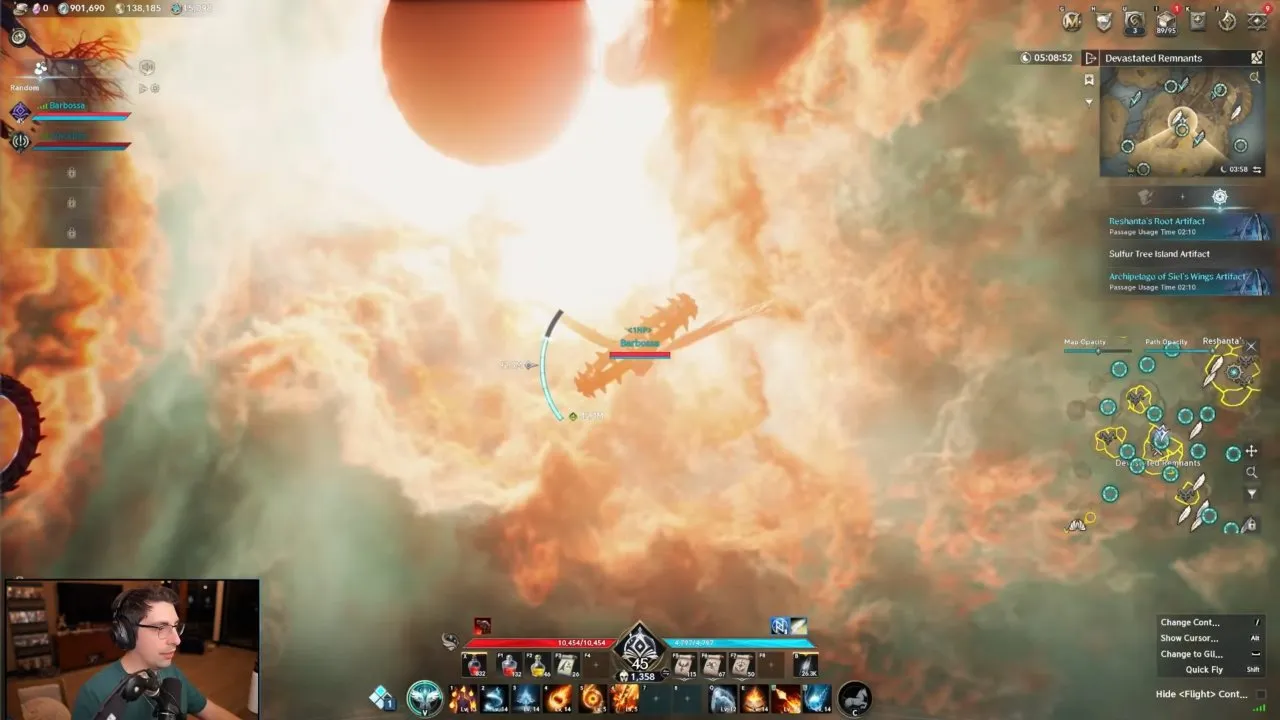
Collect feathers along the story route and during Abyss weekly quests for their respective monoliths. World-boss artifacts also provide character stats.
Fund Upgrades and Claim Useful Rewards
Use AION 2 materials to decide what to gather, keep, sell, or extract. The AION 2 Kinah guide covers early quest and first-clear rewards, followed by level-45 dungeon drops, Odyle gathering, and crafted consumables. First-clear payouts are one-time gains; repeated runs instead provide drops to evaluate.
Bound Kinah pays ordinary costs such as upgrades and crafting fees. Other players' items require unbound Kinah, and Market trading requires both level 45 and an active subscription. Compare an item's intact value with its extracted resources before dismantling higher-quality equipment.
For gemstones, use AION 2 Ruby location to choose a hunting ground for your faction and search near rocky cliffs. Match the full gemstone name and rarity to your requirement. Shared sources allow up to three gathers, so an available node may already have fewer extractions remaining.
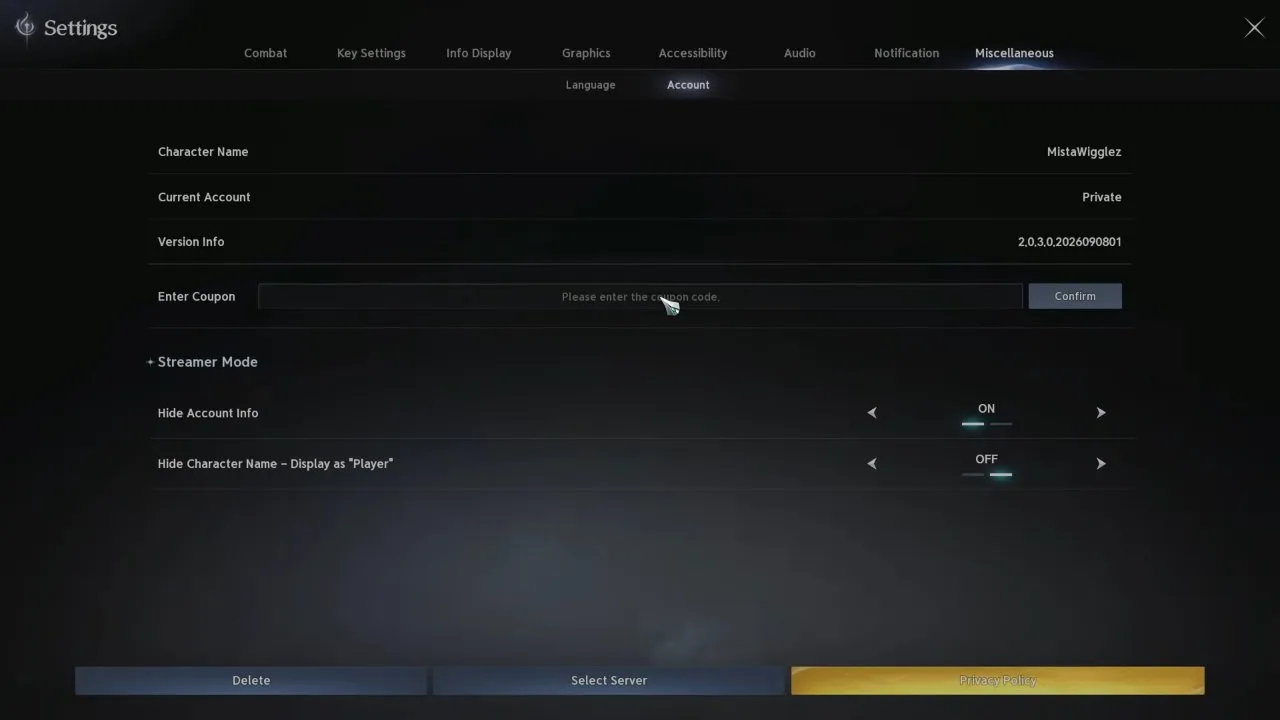
Check AION 2 codes for the recorded coupon, regional deadlines, and redemption steps. Select the receiving character before using an account-wide claim, and leave room in your Cube inventory. The listed rewards are Bound items; check the page's date and deadline before expecting a coupon to remain available.
Progress From Level 45 Into Higher-Tier Gear
The route below takes you to the 2,100-and-beyond gearing stage, with approximate milestones.
| Stage | Next actions | Mistake to avoid |
|---|---|---|
| Level 45 preparation | Obtain board crystals from green quests and Sealed Dungeons, use them from inventory, and spend the points. Additional crystals come from the Shugo Festival shop. Equip two Clash runes for 120 total gear score. | Enhance spare runes while keeping two equipped: failed enhancement can destroy a rune. |
| Early equipment upgrades | Enhance the green Belt of Nobility and Amulet of Revelation to +10, unequip and morph them to blue, then enhance to +10 and morph to yellow. Loot Draupnir three times in Exploration for a useful yellow item-level-54 pity-box piece, enhance it to +5, and socket mana stones. | The Draupnir requirement is three loot collections, rather than three unlooted clears. |
| Around 1,000 gear score | Follow the quest into the Abyss. Buy weekly quest scrolls, complete their tasks, and use the earned Abyss points for stigma fragments. | Stigmas increase combat power; gear score alone does not solve low combat power. |
| 1,400 to 1,600 | Loot Sky Island three times in Exploration, then continue in Conquest toward its guaranteed reward. Enhance and socket upgrades. Urugugu Canyon is an alternative for weapons and accessories. | For the first chest, pick either your largest upgrade or the breastplate. Canyon weapon drops are not guaranteed to match your class. |
| 1,600 to roughly 2,000 | Begin Transcendents and fill five Arcana slots. Run both initial encounters for their different card pools. Five green cards add 200 gear score; enhance toward 1,900 and enter stage two for blue replacements. | Higher rarity is the initial priority. Replacing all five green cards with blue adds another 100 gear score. |
| Roughly 2,000 to 2,100 | Return to Expedition and replace remaining blue equipment or older one-star yellow pieces with two-star Vakron gear. | Existing yellow gear can still benefit from a higher-tier replacement. |
| 2,100 and beyond | Loot Ferocious Horn three times in Exploration for its pity box, then continue in Conquest for armor upgrades. Fire Temple supplies weapon and accessory upgrades on the route toward 2,800. | The route names gear sources without guaranteeing every desired drop. |
For enhancement beyond +15 toward +20, use a finished amplify stone rather than its fragment. Long-term crafted equipment is the better investment target, with item levels reaching 94 and later 102. Choose pieces according to your resources instead of automatically taking every Expedition item to +20.